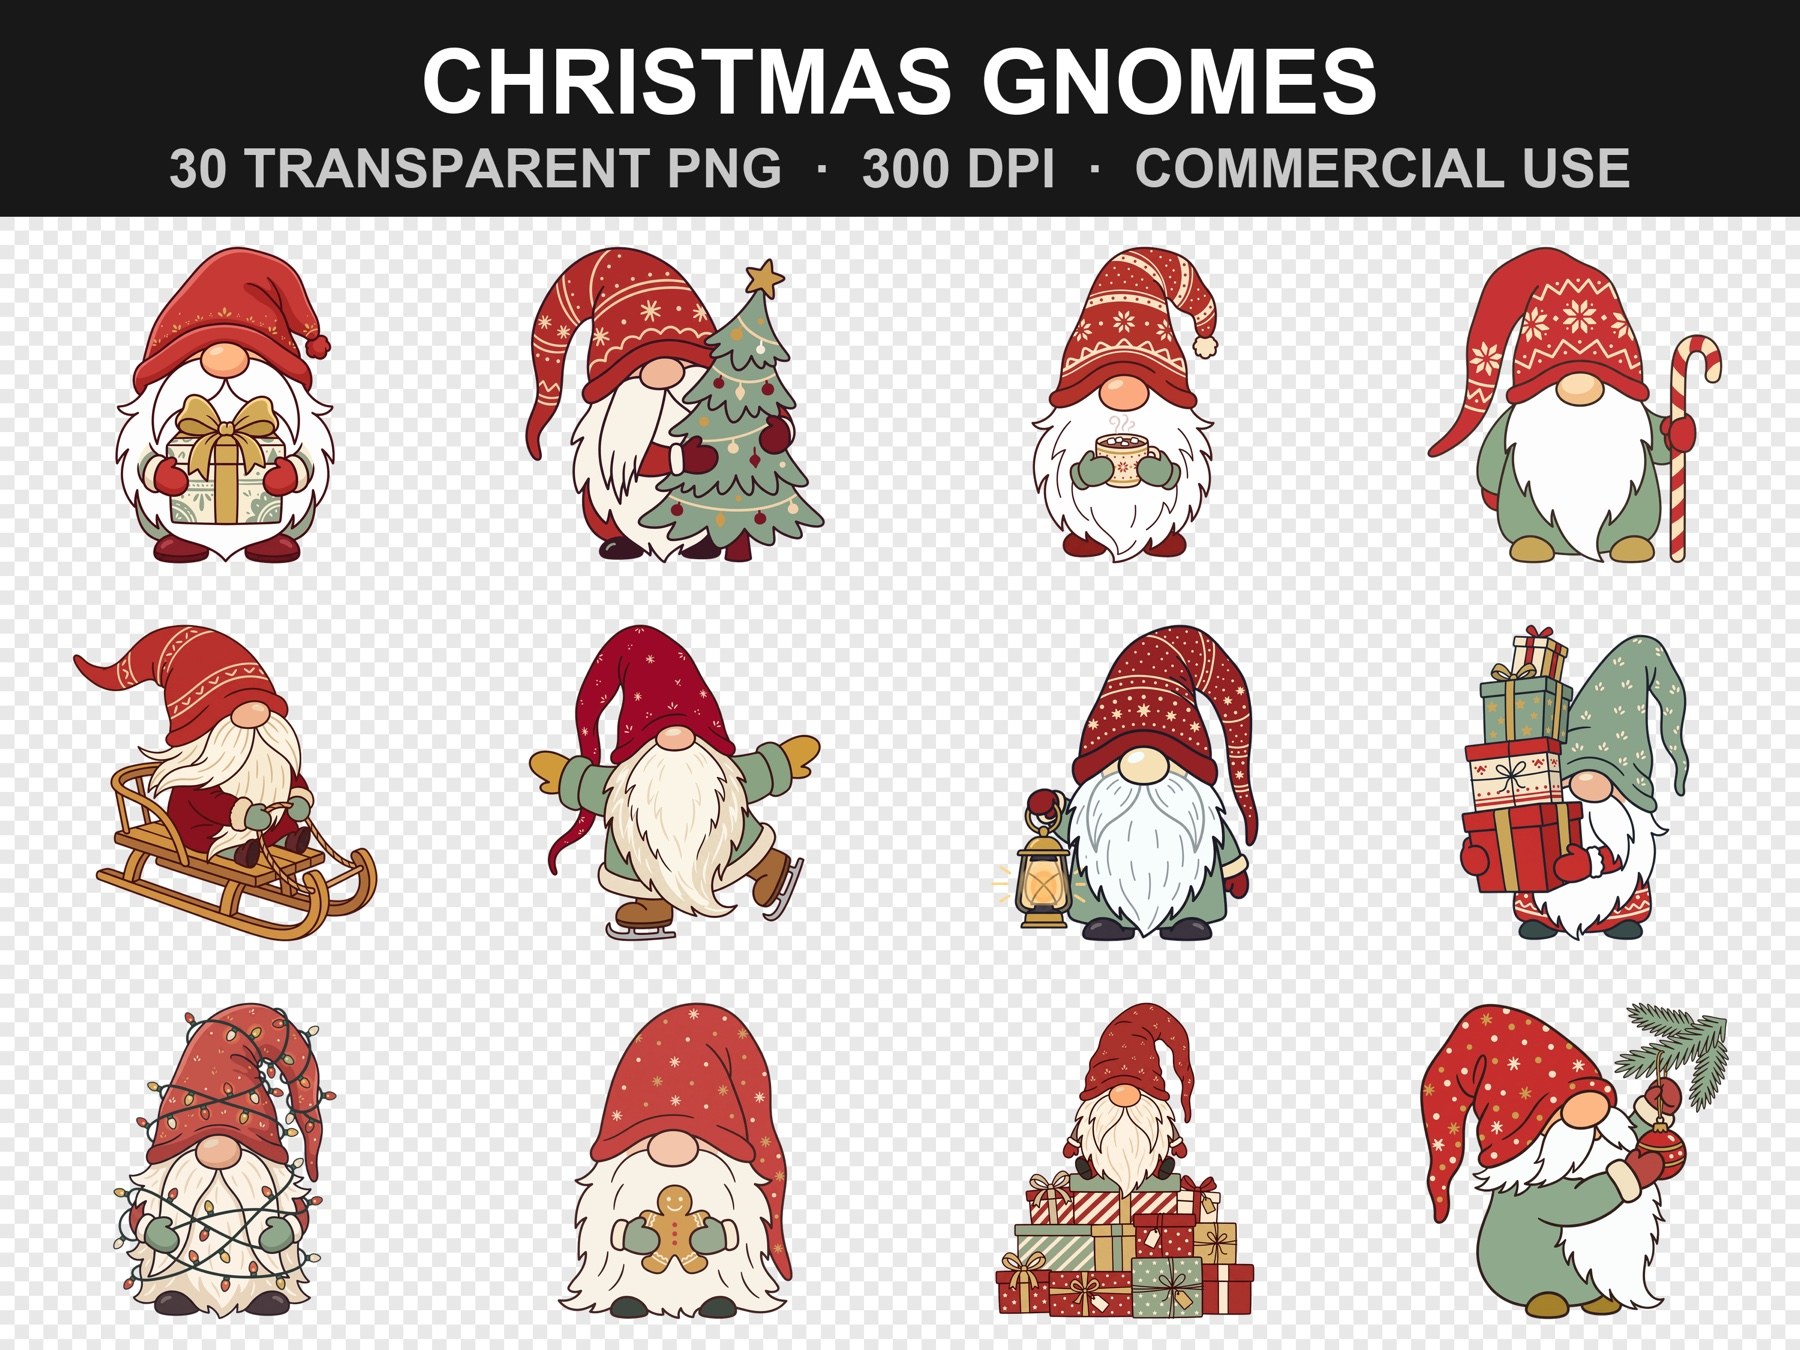
How to use PNG clipart with Cricut Print Then Cut
PNG clipart with a transparent background is the easiest thing to put through Print Then Cut: there's no background to clean up, so Design Space can cut neatly around the outline. Here's the whole process, from download to sticker.
What you need
- •A Cricut cutting machine that supports Print Then Cut
- •Cricut Design Space
- •An inkjet printer
- •Printable sticker paper or white cardstock
- •Your PNG files, unzipped
Step by step
- 1Unzip the download. On a Mac, double-click the ZIP; on Windows, right-click it and choose Extract All.
- 2In Design Space, start a new project and click Upload, then Upload Image, and choose a PNG.
- 3Because the background is already transparent, there's nothing to remove. Continue to the next screen.
- 4Choose the Print Then Cut image type, then upload.
- 5Select the image in your uploads and add it to the canvas. Resize it there — copy and paste to fit several on one sheet.
- 6Click Make It, then send it to your printer. Turning on bleed gives cleaner edges.
- 7Put the printed sheet on the mat with the printed side up, load it, and let the machine read the marks and cut.
Tips for clean stickers
- •For most machines, the largest Print Then Cut image is about 6.75 × 9.25 inches on a letter sheet.
- •Leave a little space between designs so the cuts don't run into each other.
- •If the cut lands slightly off, recalibrate Print Then Cut from the Design Space menu.
- •Matte sticker paper hides small cut offsets better than glossy.
Using the same files for sublimation
For shirts, mugs and tumblers, print the PNG on sublimation paper with sublimation ink, mirrored, and press it with the time and temperature your blank calls for. The transparent background means only the design transfers.